About Me

My photo
Australia
Wife, mother, daughter, sister, aunt, great-aunt and friend....and fur-kid mum I love Quilting, stitching, photography, cooking, baking, gardening, blogging and making new friends...stop by and say hi!

Saturday, 17 May 2014

A little stitchery for FNSI

Did you join in for FNSI?

I  did do some sewing during the day, mostly expanding my chevron quilt and fixing block 6 of my Mystery Quilt.  I could see the error but it took some time to figure out how to fix it. I got there in the end and this is what it looks like now........that's more like it!

So with that out of the way, I settled down to a night in front of the telly for an episode of Jonathan Creek and a rather disturbing episode of Luther, while I stitched on the next block for Bric-a-brac.  I started with this
 and by the time I thought it was about time to call it a night, I had this
I am loving those tulips but the stitching is so slow going.  I am heading on over to Wendy's at Sugarlane Designs for a bit of show and tell......why don't you join me......click here

Friday, 16 May 2014

Mystery Quilt - Part 3

She's Back.......I picked my Pfaff up from the machine hospital yesterday and she has had a full service so even though I haven't had a chance to check her out .....yet, I trust she will be as good as new.

Time to catch up on sewing those Mystery Blocks.

I have spent all of this morning  sewing my 2 mystery blocks and here they are.......(machine as good as new btw)

Block 5.....initially, I thought I wouldn't like this block as I don't like the yellow against the rusty red but now that it is sewn together, I am quite pleased with the outcome.

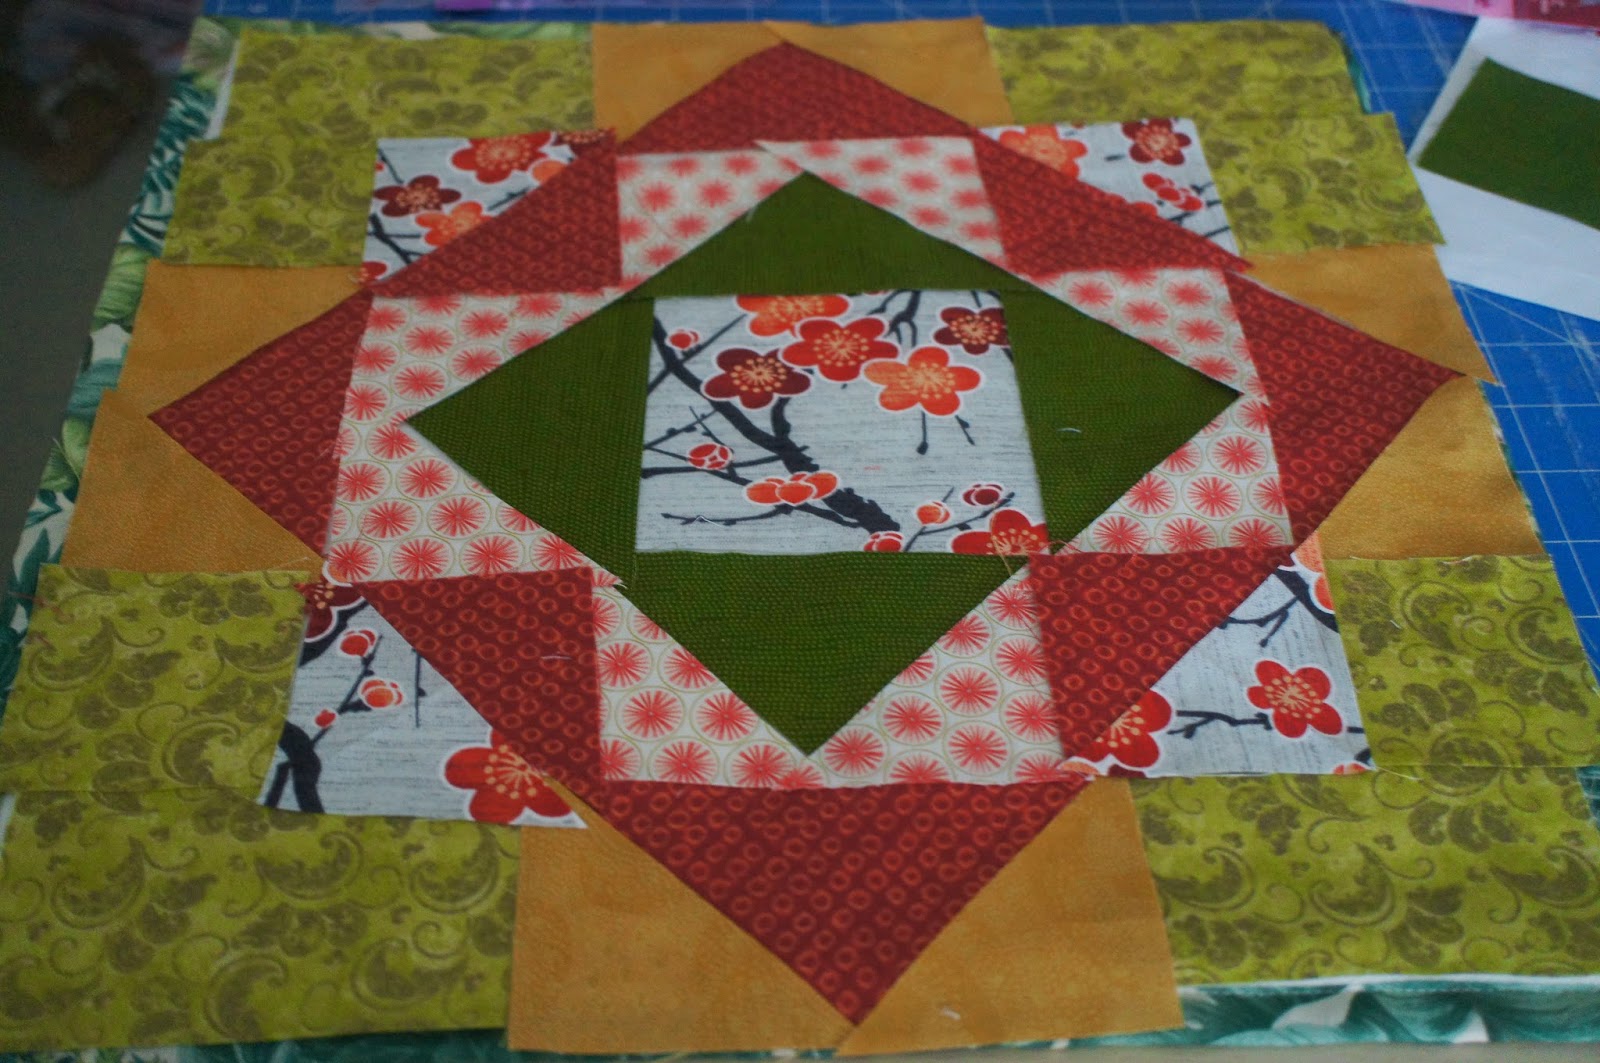
Block 6......I am not pleased with this one *LOL*....can you see why? Yep, I only noticed when I popped the photo into my post that I have sewn it together incorrectly.  I honestly don't know how I do this EVERY SINGLE TIME I sit at my sewing machine. As you can imagine, the seam ripper is never too far away so I will post an amended photo at some stage.  In the mean time, here are my next 2 blocks set out and ready to sew at the next class. I am undecided which arrangement to use so any views would be so helpful

I am leaning towards the 1st, mostly red, block

The first block is following the pattern but I am leaning towards the 2nd choice.
Now maybe if I hadn't been playing around with these corner snippets, I wouldn't have gone so far astray while sewing my block........one or two of them had fallen in to a butterfly shape by themselves and looked so pretty, I just had to take the time to arrange the others as well. It is the small things......
Thank you all so much for your kind words from my last post even though I have not been able to give you the details  (it is not my story to tell).  I haven't gotten around to answering all the comments as yet.....it has been a difficult couple of days but today looks more promising....fingers crossed, it will improve with little steps each day.


Wednesday, 14 May 2014

Mystery Quilt - Part 2

Back in March, I posted about my Mystery Quilt NewFO - click here if you missed that post. I have been working on that quilt at my LQS on the first Wednesday of every month .....but, oooops.....I haven't posted my progress for April.

I spent the lesson sewing blocks 3 and 4 and they turned out like this
I really like how this one turned out
not sure about this one......I don't really like red and yellow together

 After sewing these two blocks it was time to start laying out the blocks for 5 and 6. Up until now I was very strict about following the layout and colour plan but when I laid out block 5, I really didn't like the options so.......I deviated. There was a couple of ways I could go with this one. Wonder if you can guess which one I have chosen to do.


I had a couple of choices with Block 6 and I also mixed up the pattern a bit.

I was just about to start sewing these blocks but my sewing machine would not play nicely and it didn't matter what I did.......I switched it on and off, I rethreaded the top thread and the bobbin several times, I played around with the tension.......nothing worked.......she just wasn't in the mood to sew! So that was that and I spent the rest of the class playing with my left over fabrics and chatting to the others about their blocks.

Miss Phaff is currently in the sewing machine hospital but I will get her back in a few days and then I will write the next part of this mystery!

Tuesday, 13 May 2014

Some Sewing and Some Squishies

I have to tell you, due to a series of unfortunate events, it has been a trying couple of weeks for me and the family but I am hopeful that things have hit rockbottom and will now improve. I didn't feel much like blogging but I did do some sewing to take my mind off things. I am sorry, I can't really say more but no-one has been seriously hurt so no need to worry.

Since I made such great progress with my Teddy Bear Tea Party WIP/UFO a couple of weeks ago, I decided to grab another basket from that pile. This is my Chevron Quilt which I blogged about here and here
After spending another afternoon in the Creation Station, I expanded my Chevron quilt by a number of rows. Fortunately, I left this quilt well prepared and each row was put together in order, labelled and pinned together with a bull clip.
So it was just a case of picking up the next pile, sewing the row together and adding it to the growing quilt.
I love the colours in this quilt, so fresh, clean and cool, so I decided to pop it on my bed to see how it was faring.  Five out of 14 rows sewn together now and I am heading into the Creation Station to sew some more.


I was also lucky to recieve, NOT one, but TWO squishies in the mail this last week.  I won a prize during the Grow your Blog event and Kaye from Kitten Stitching sent me a jam packed squishy envelope
 inside there were two pieces of fabric, beads, an emery board and a little book of Calm.....just what I need right now.
 I also recieved a surprise from Cheryll at Gone Stitching for joining in with Friday Night With Friends. My name was randomly chosen from the 40 or more people that I stitched with for the night.  Here's what I got from Cheryll. The sweetest stitchery pattern you ever did see, two FNWF coasters and a couple of quilt labels.  How lucky am I?

 So you see, after spending some time in the Creation Station, my spirits are lifted so I am going to continue as my Little Book of Calm suggests and head off to "Gaze At Something Blue"  as it has the ability to instil calm......I think my Chevron quilt counts as something blue!


Saturday, 3 May 2014

FNWF......all Afternoon

It is a bit of a wet day here today in South East Queensland and it doesn't look much like improving anytime soon.
 So after a quick trip to do some errands and stopping to smell the roses,  I thought it would be nice to start Friday Night with Friends......this afternoon.
It made sense to start with the Teddy Bear Tea Party as it is already taking up all the space on my cutting table and nobody can get anywhere near the iron!  I still haven't found the fabric for the missing noses but I can add those later as they are just fused on and then I add some Teddy Bear Nose Shine to make them stick some more and look nice and shiny so I can do that at any time.
 After I got the last block on the third row I had to decide what to do with the borders.  I decided to continue with the sashing as the first inner border and then I added a 1" pink border but how wide to make the final outer border?
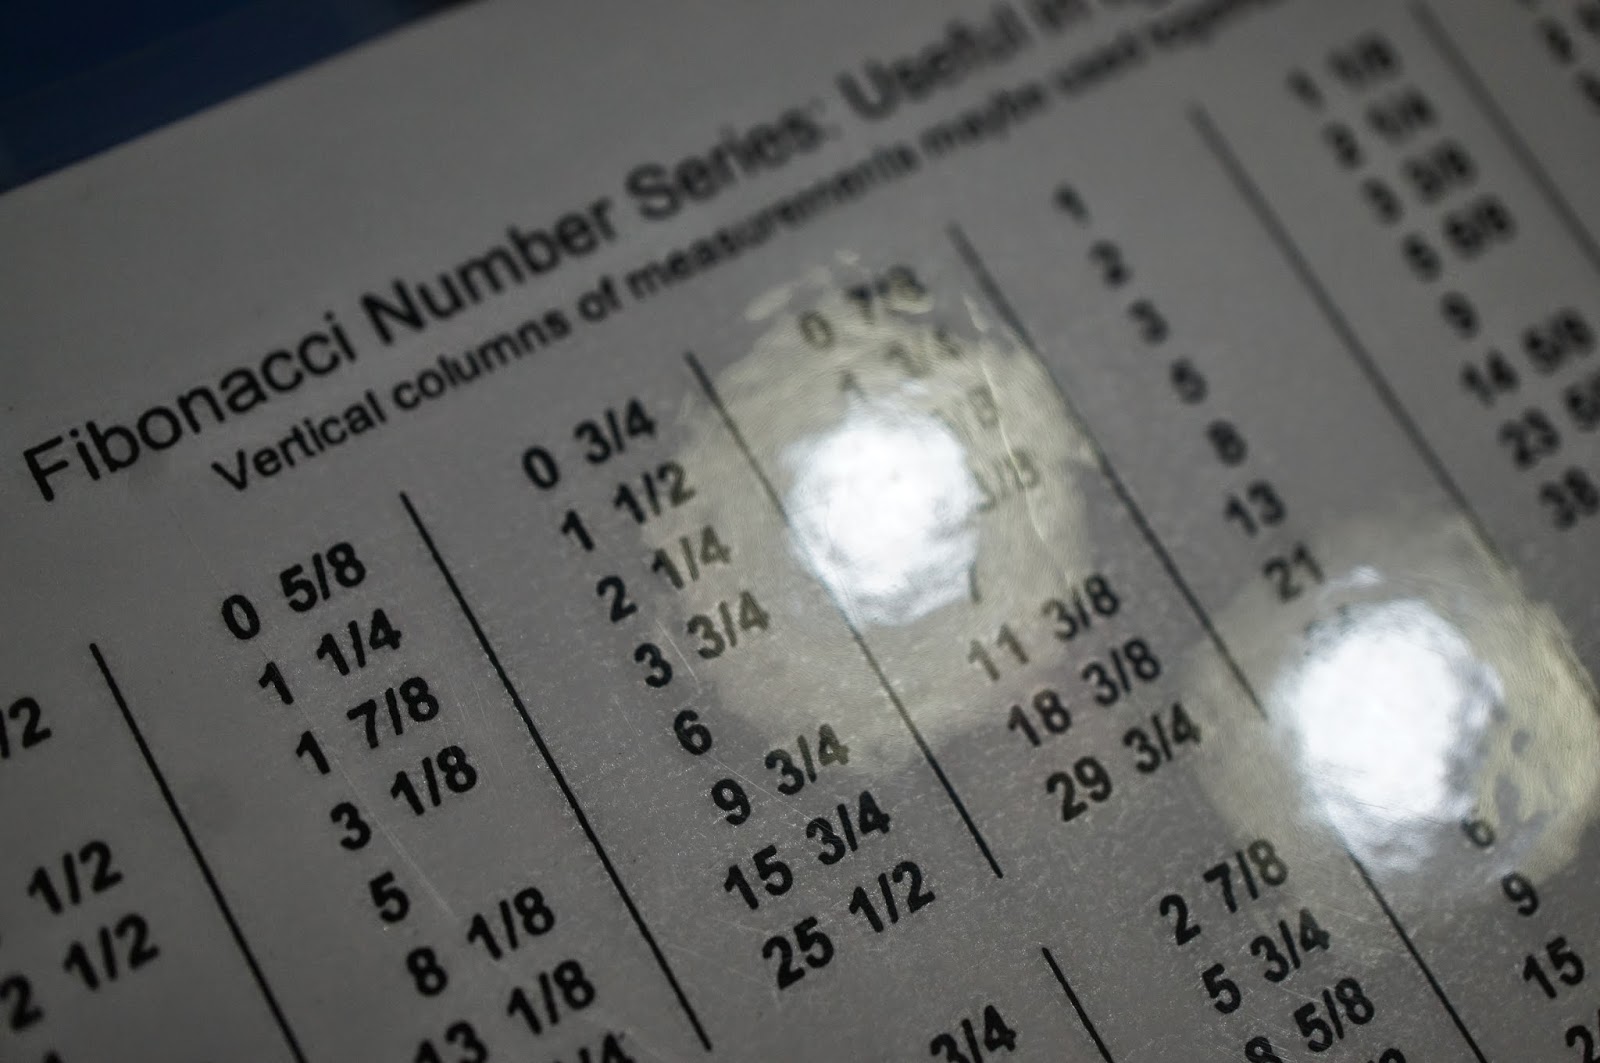
 Enter Mr Fibonacci.  If you don't know about the Fibonacci Sequence.....well it is really difficult to explain so I will have to redirect you to Wikipedia and let them deal with that but I do know that the Fibonacci sequence can be found everywhere in nature from the number of petals of flowers to the  number of scales of a pineapple.....it is all about the ratio of balance.  I have a Fibonacci cheat sheet for quilting and it shows what width of borders will work well with each other.  I would love to share it with you but it is, unfortunately, not mine to share. I did a class with the Crafty Lady and it was amongst the handouts. 
So following the chart, I worked out that an outer border of 4 1/4" would be a good measurement as I didn't want a really wide border.
And there you have it,  by the time dinner rolled around I had a quilt flimsy all done and dusted (except for the missing noses - don't let me forget them)....Yahoooo!


That was this afternoon and now it is Friday Night and I am settling down to watch Jonathan Creek and do a little stitching on my Bric-a-brac block.
 Before I go, would you like to see another gorgeous rose?

 Check out the other FNWF stitchers HERE


Have a great weekend!


Thursday, 1 May 2014

April NewFO.-.Folded Cranes

So it seems I've started yet another NewFO this month so let me tell you about it.

PART I
Recently I had to swap one of my work days (a Tuesday for a Wednesday) and it just so happened that there was a class on at my 'Local' on the Tuesday that I was really interested in doing.  Tania was going to show us how to make "folded" cranes.  I was given a handout when I signed up and had a little look for some fabrics to add to the ones I knew I had in my stash. I should note, at this time, that I had grand ideas for a nice size quilt.
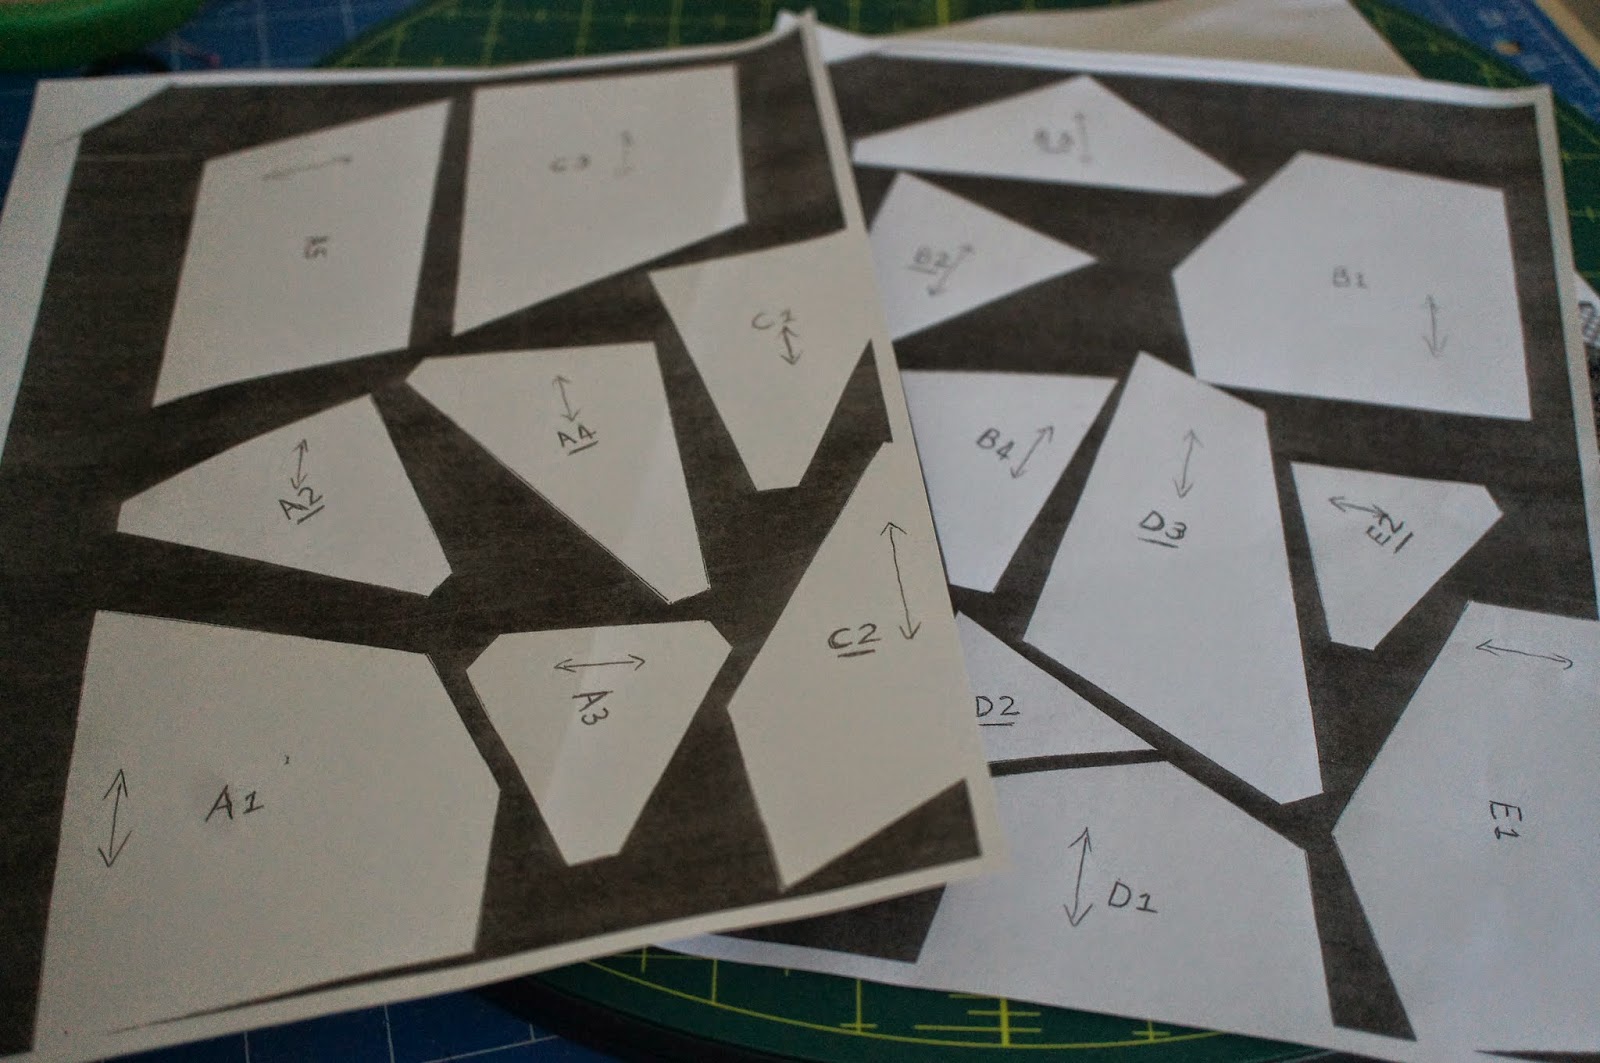
The handout also had a sheet of shapes that we had to cut out before the class.  I had a thought to stick the sheet onto some templastic before cutting them.  I was planning on using these templates more than once and did not want them to deteriorate too quickly.  I was all set for the class.

PART II
So armed with my trusty Pfaff and my fabrics and supplies including the templastic templates I joined 5 other ladies for a morning of sewing. Even though I knew all the ladies I was spending the day with, I was especially glad to have my dear friend, Zita, there as well. Tania gave us verbal instructions on what we had to do with the cut out shapes.  They all have letters and numbers and the underlined ones where to be the parts of the crane and those not underlined were for the background.
The other ladies were pinning their shapes to the fabric which created a bump and they had difficulty cutting them out.  Because mine were on templastic, they stayed in place when I placed my ruler on the edge while I used my rotary blade and I was glad I thought of that.   I perfected this technique when I got home by putting a dab of stick glue on the shape and sticking it to the fabric and also using my swivel cutting board.
Once we had our fabric shapes cut out we were given another handout, once again with the shapes, but this time they made up the shape of a folded crane.
This a tricky technique and you have to be so careful sewing the pieces together.  Once I got the hang of lining up the seams I started to forge ahead but for some reason I could not get the A section to match the D section seams and I wasn't the only one.  Tania showed us how we could fudge it in and I think it worked out........what do you think?
The edges are really wonky but they just need to be trimmed up.  I was going to make a small quilt using this technique but during the class Tania  mentioned that we could also do these cranes using paperpiecing and she would be happy to show us that way as well so I am just going to make 3 of these particular cranes and turn it into a small wallhanging.  Here are my three cranes so far

PART III
I spent a couple of days just looking at these three cranes and trying to decide what to do with them. A table runner or a wall hanging?  The original sample in the shop that got me interested in these cranes was a wall hanging so I decided to go with that. At this stage, I decided not to go with those fabrics that I had bought at the beginning of this project but attack my stash for something else. I think these will do nicely.

Because of those wonky edges I had to trim my square down quite close to the wing tips of the cranes and when I added a border, I was sorry to lose those lovely sharp points but there was nothing I could do about it.

I added the outer border and decided to go with a triangular piece at the bottom with the scope to add a tassel. I had a lovely gold one from a present, two or three Christmases ago. Firstly I had to quilt my piece. The piece is too little to load onto the big quilter, Ava,  so I tackled it on my Janome. I went with bubbles for filling in around the cranes.  I enjoy doing this much more than stippling.

 And I did some curly swirls around the outer border and added the tassell on the pointy bottom when I attached the binding.
And so guess what?  In April I started a NewFO AND I finished it! It was not the NewFO I had in mind for April but that just means I have something in mind for May.

I hope you enjoyed reading about my Folded Cranes. I will be linking in to Barbara's NewFO Challenge over at Cat Patches.  You would be more than welcome to visit and see the other NewFO's for April


ps......I have since resigned from my job which means I have all the time in the world to dedicate to my Creation Station and countless NewFO's......unless I am lunching with friends!
Related Posts Plugin for WordPress, Blogger...